Tag Archives | Crochet

Stitches West 2015

Stitches West 2015 – What a Blast!

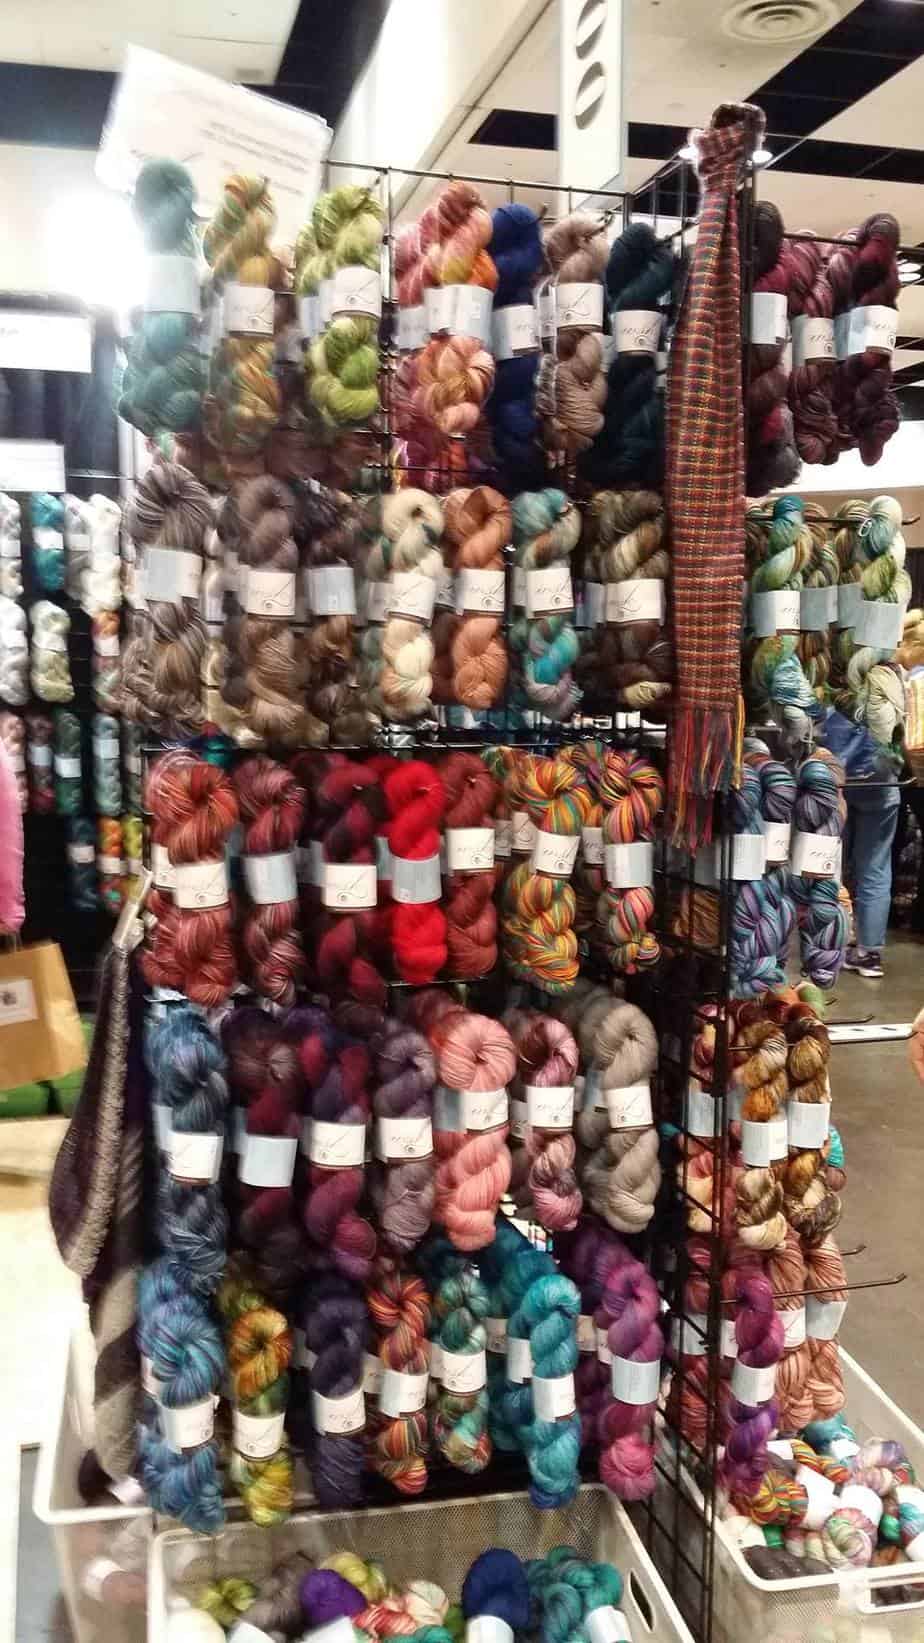
I was so blessed to be able to attend the annual Stitches West in Santa Clara, Ca.  last weekend.  The location is about 45 minutes south of San Francisco, California.   This is a super yarn event sponsored by Knitting Universe.   The event was held at the Santa Clara Convention Center right across the street from the new Levi Stadium where the SF 49ers play.    The event was a bit overwhelming.  Walking into the Market Place you can see yarn as far as the eye can see.
Vendors came from all over the USA and some even from other countries like the land down under, Australia.  Every type of yarn imaginable was on display from Acrylic blends, wools, bamboo, silk, alpaca, etc.  It was a fiber lovers dream.  I felt like the mothership was calling me home.  : )   In all seriousness it was a great event.  Not only are you able to see and purchase some of the most exquisite yarns but there are tons of other knitting and crocheting items available for purchase.  There were over 300 vendors present.    Stitches West 2015 was a great experience.


I was also able to meet some of the people I admire and follow on social media such as the awesome Kristen Omdahl and guess what she is as nice, awesome and gracious in person as she is in her videos.  I have become an even greater fan.  She was there with her new yarn line.  She has personally selected the yarn (100% bamboo) which is some of the softest I have ever felt.  She also has a new book which I immediately purchased.  It’s a really great value.  You get 21 beautiful patterns for only $24.99.   Her yarn was a great value as well since you get the kit (2 different types) which has enough yarn to allow you to make a project, plus a purchase gives you access to great patterns to use with your new yarn.  I purchased the kit as well and will be doing a video review of her products.  Here is the link for her website  Click Here  I highly recommend them.  I also got to meet Edie Eckman another designer I have long admired, among other great fun people.   Check out the photo I took with a lady wearing her own Turkey Head creation.     You could also purchase kits that had already been prepared with the pattern and all the supplies needed to complete the project.  I thought that was really handy.


collage

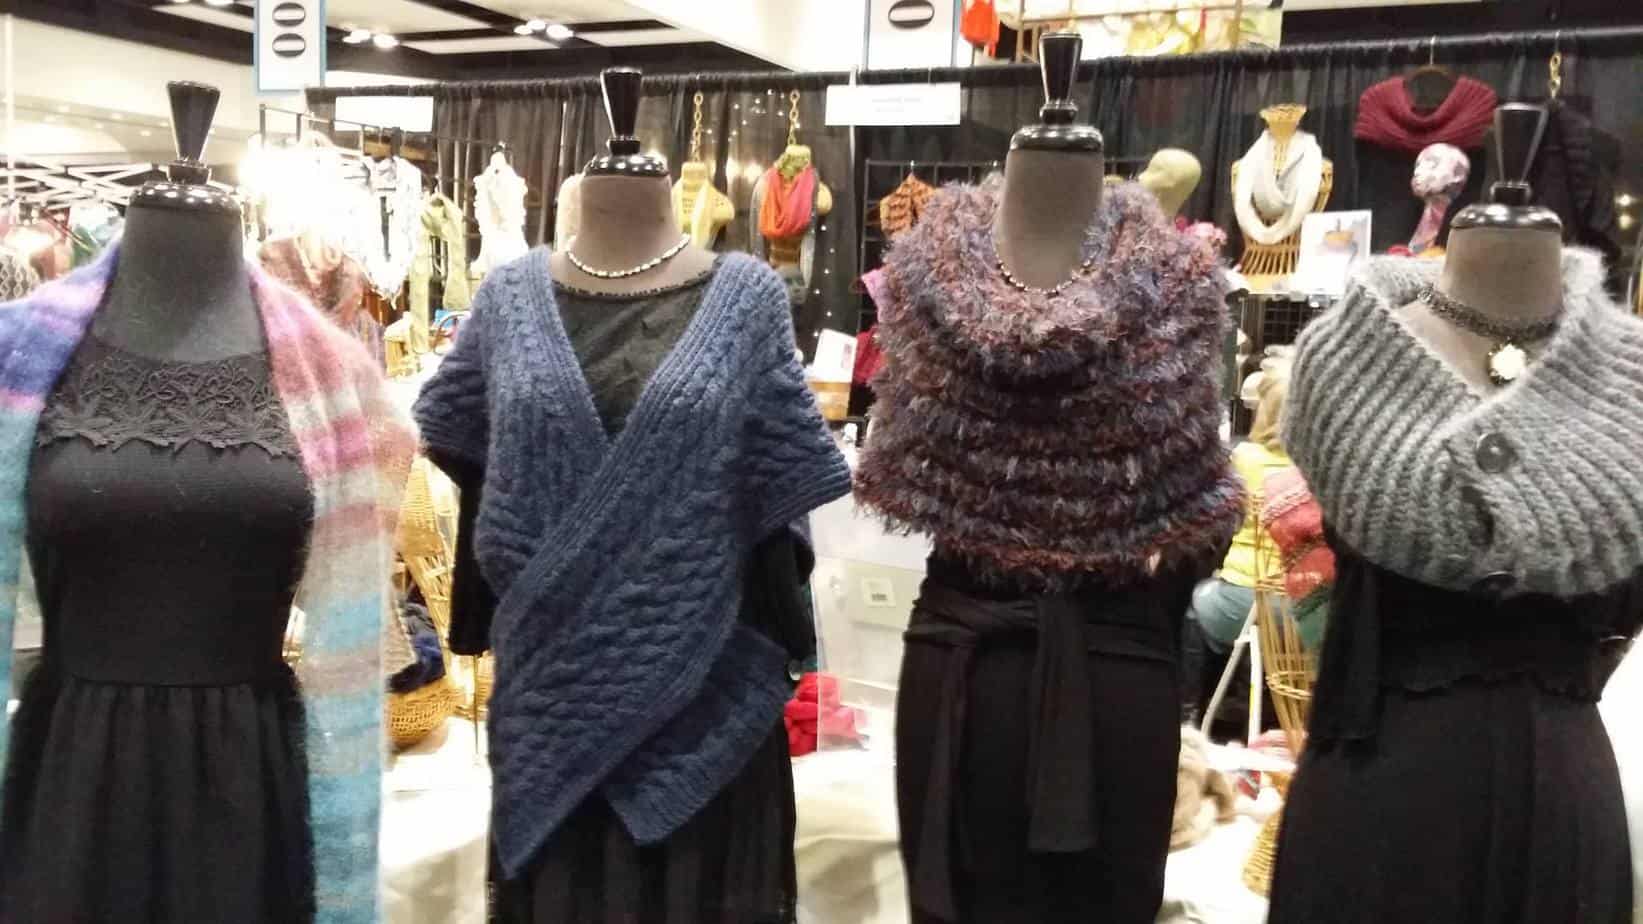
Many of the vendor display finished garments showing their yarn.  The garments were exclusive.  I only wish there were more crochet items.  The event is sponsored by Knitting Universe so it makes sense that it attracts more knitters than crochet fans.   Now I wish I had more time to make every single garment.  There were spinning wheels for sale as well as spinning demonstrations.  Jumbo Yarn winders which I purchased that can handle up to a pounds of yarn.. woohoo.  I bought one of course.   Here are some photos.   After the event we took a day trip to San Francisco.  We took the harbor cruise around SF Bay and around Alcatraz prison.  We got to sail under the Golden Gate Bridge which was such a trip.  It was a little nippy but we enjoyed it.

Below you will find a collage I made of some of the great products available at Stitches West 2015


   stitcheswest yarn

Facebookpinterestyoutubeinstagram
Continue Reading

Crochet – Valentine’s Day Coffee Mug Cozy

Easy to Crochet Valentine’s Day Coffee Mug Cozy

heartmugthumbernail

Do you want a chance to win this little coffee mug cozy? Simple become a member of this site and write a comment below. Winner for various items will be chosen twice a week.

Here is a fun and easy crochet project.   It would make a great teachers gift for Valentine’s Day.  It’s a coffee mug cozy embellished with a cute little heart.  I have seen these little coffee cozies for different holidays and since I Love hearts I couldn’t resist making for Valentine’s Day.   Here is the pattern:

Materials:

Small amount of red yarn  and white yarn  (Medium weight works best)    I used Lion Brand Yarn, Vanna’s Choice in Cranberry and White.

For the red part:  Hook:  I/9  5.5 mm

For the heart:    Hook  J/10 6.0mm

1 Button of your choice (make sure it fits between the 2 dc spaces)

Body of coffee mug cozy

To Begin:   With Main Color (red) chain 12,  dc into 4th chain from hook and in every chain to end.

Row 2-12:  chain 3, dc in each stitch across row.  (Last dc will be into 3rd chain of first row).

Row 13, sl stitch over 3 stitch,  chain 3, dc in next 2 stitch

Row 14: ch 3, dc in next 2 stitches and fasten off  and sew in tail.

Heart:    To begin:  Make a magic circle

rnd 1:  ch 2, 3trc, 3dc, ch 1, trc, ch 1, 3 trc, 3dc, ch 2, sl st into circle.  Pull circle shut.   Weave in tails

Sew your heart onto the main body of your coffee cozy.  You may use more than 1 hearts.  Make as many as you want to sew onto your cozy.

Wrap the cozy around your mug.  Now you can see where you need to sew on your button.  Sew on your button and you’re done.  It’s ready to be enjoyed.

You can buy coffee mugs at at many household stores like Wal-mart, Target  and even at the Dollar store.

Do you prefer to learn with a video?   Many people are visual learners.  If you are one of those here is the link  Click Here for Video.   Have you visited my facebook page?  Be sure to visit and become a fan.

Facebookpinterestyoutubeinstagram
Continue Reading

DIY – Clover Mini-Flower Loom

Easy DIY – Clover Mini-Flower Loom

IMG_3571

Clover Mini-Flower Loom Kit

One of the great things about attending the CHA Mega Show is being able to see products before they become available in stores.   As many of you know I love to make flowers.  I like using them as embellishments and to make other crafty things.  This year Clover has introduced Mini-Flower Looms.  These little looms are so cute and easy to use.  The package I got had the flower and the square loom.  The back of the looms are open so you can sew in the center to be able to ensure they won’t fall apart after removing them from the loom.   You can use yarn, metallic yarns and thin cords.  I also saw them using the thick metallic threads.  You are really only bound by your imagination.  I am using the new Bon Bon packages by Lion Brand Yarn.

It’s easy to do.  First choose a yarn, thick thread or cord of your choice.   There are 2 slits on the side of the loom.  These will help you secure your beginning and finishing rounds.    Then you will wind the yarn around the pegs.  You will be working directly across from each peg.  I work in a clockwise direction.   You can wind the yarn around the pegs 1, 2, of 3 times.  I did it 3 times.   Then when you have finished winding around all the pegs, you can put the tail  back into the remaining slit on the side of the loom.   Now, you will use your thread needle and thread with yarn of your choice.  I  used about a 20 inch strand.  Now, you will sew back and forth making sure to get all levels of the yarn.. now move onto the next set of pegs.  Repeat until you have worked all pegs.  Now weave in your tail and cut.   You are ready to slide the flower off the loom and cut the tails off the remaining two slits.

IMG_3572 IMG_3573IMG_3574IMG_3575

IMG_3576IMG_3577IMG_3578IMG_3569

It’s that easy.   Making flowers on your Clover Mini-Flower loom can become addicting.

Purchase your flower loom here (affiliate link)

Click here to purchase flower loom 


Here is then video link.    Video for Mini-Flower loom tutorial 

Please be sure to visit my Facebook page and become a fan.  Also, while you’re watching the video be sure to subscribe to my YouTube Channel.

Facebookpinterestyoutubeinstagram
Continue Reading

Easy to Crochet Rose

Adding a Crochet Rose to any item is a beautiful way to embellish your hats, scarfs, blankets, etc.  This crochet rose is easy to make.  It has become one of my favorites crochet rose and I really like how easy and fast it is to make.   You can use any size hook (appropriate for yarn weight) and any type of yarn. To make this large rose 4″ (10cm) I am using a size J/10 6.00mm and medium weight yarn.  You can adjust the size by changing up the size of your hook.  The larger the hook, the larger the rose.  The smaller the hook the smaller the rose.

Easy to Crochet Rose

Easy to Crochet Rose Instructions:

To begin:  Chain 74
Row 1: 1 hdc in each chain beginning in 2nd chain from hook. 
Row 2: ch 3, skip 2 st, sc, *skip 2 st, sc* repeat from * to * to end of row
Row 3: (1st third of ch-3 spaces),  ch 1 (counts as sc), [hdc, 3 dc, hdc, sc] all in same ch-3 sp, *[sc, hdc, 3dc, hdc, sc] all in next ch-3 sp*, repeat from * to * for your remaining first third of work (stop when you reach your stitch marker). 
Row 3: (2nd third of ch-3 spaces), *[hdc, 5dc, hdc] all in next ch-3 sp*, repeat from * to * for next 1/3 of stitches (stop when you get to your next stitch marker)
Row 3: (last 1/3 of ch-3 spaces), *[hdc, 7 dc, hdc] all in next ch-3 sp*,  repeat from * to * to end of row, fasten off
Sewing the rose together:  To begin:  Roll strip like you would a fruit roll-up.  You will begin sewing the bottom edge of the strip (on the first row of hdc) the petals will remain free.  Work a little a time.  This is the wrong side of your work. 
 Keep rolling and sewing your rose to your previous rolls… your piece will be taking shape on the reverse side.   To see a video tutorial you can go to my YouTube video tutorial.   When you finish rolling up and sewing your row (bottom edge)  sew in your tails.  You can now sew on a clip or  just sew your rose onto a hat, scarfs, etc.   I prefer to sew  a jewelry type of brooch pin to the back of the rose.  This allows me to remove the rose from my item in order to be able to wash my items or to use my rose on multiple pieces.     I hope you enjoy this Rose.  
Are you a visual learner?  No problem check out the video tutorial here:

Happy Crocheting! 
Yolanda Soto-Lopez
All Crafts Channel


Facebookpinterestyoutubeinstagram
Continue Reading

Minion Inspired Wristers / Fingerless Gloves

Easy to Crochet Minion Inspired Wristers / Fingerless Gloves

Minion Inspired Wristers / Fingerless Gloves   

Photo oF Minon Fingerless Gloves

Minion Fingerless Gloves


Minion inspired projects seem to be everywhere.  I must admit that soon I will reach the point of saturation when perhaps I will be over them.  Luckily that time hasn’t yet arrived.  This week my granddaughter asked me to make her some fingerless gloves (also known as wristers).  She specifically said she wanted them to resemble the Minions.  Since wristers are pretty basic to make and I had already written an eyeball pattern I decided to combine them here.  I hope you enjoy this project.

Continue Reading →

Facebookpinterestyoutubeinstagram
Continue Reading