Archive | Sewing Projects

Learn To Quilt by Using Templates

Learn to Quilt

Have you been wanting to learn to quilt but were a little intimidated?  Using templates makes your Learn to Quilt adventure so much easier.  Today thanks to my friends at Nancy’s Notions  I will be sharing a tutorial for using their Dresden Template.  This kit comes with the Dresden template, seam alignment template, and a colorful and information Instruction Booklet.  There are 15 variations that can be made using this template and the booklet gives you full instructions.   Remember, quilt tops aren’t the only uses for these designs.  I chose to make a decorative pillow and also created a small Dresden Plate in order to embellish a small canvas bag I purchased at my local Joann Craft and Fabric Store.

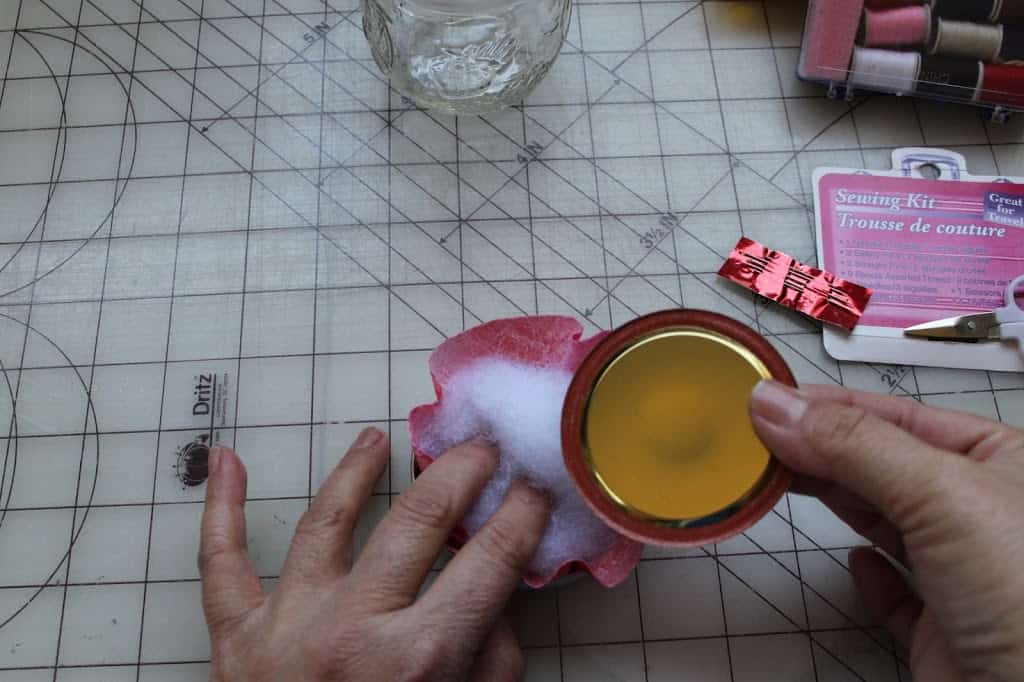
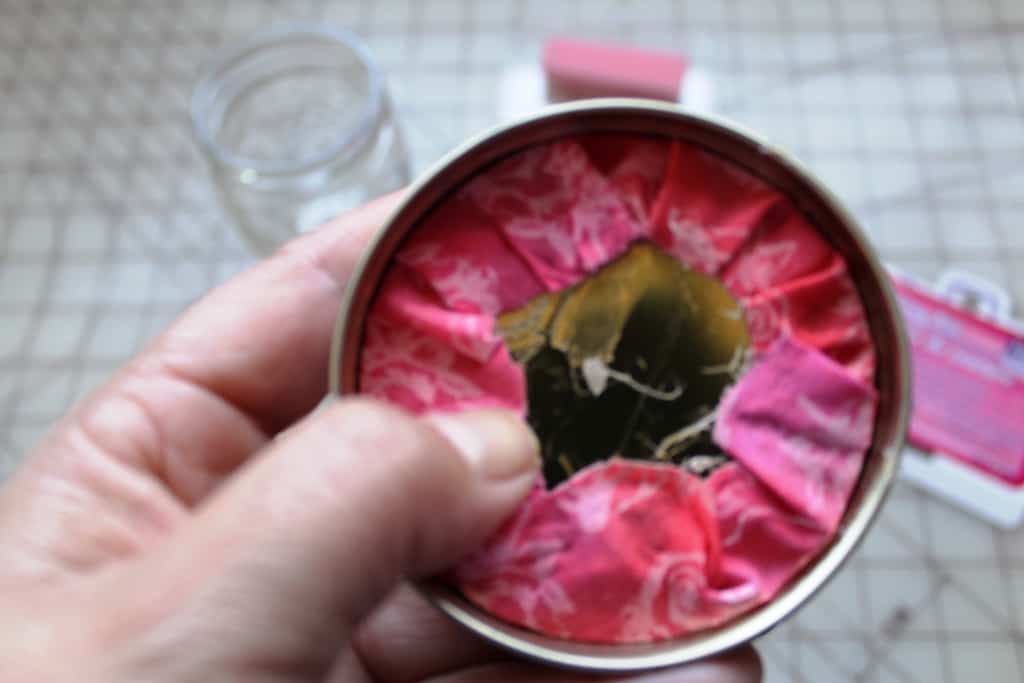
I think the hardest part was choosing my fabric.  Going to the fabric store has been an activity I really enjoy.  I could get lost there for hours.  Walking down the aisles and see all those bolts of fabrics can be mesmerizing.  So many fabrics and so little time.  First, I used my Dresden template to make a pillow top.  I can bring this pillow out to decorate during the holidays.  Place on my front porch chair or take along for a picnic or parade for comfort.  I had previously purchased a small canvas bag from Joann’s when they were on sale.  I decided to make a small Dresden plate using the templates to embellish my plain tote bag.  Now the tote is so much more colorful and will make a perfect gift for carrying crochet or knitting supplies.  I can already see my colorful yarn balls and crochet hooks and knitting needles inside my little canvas tote bag.  It would make a great gift.

Learn to Quilt - Using templates

Dresden Plate quilting design used on a pillow and a canvas tote bad

You can purchase the Dresden Template kit and other supplies here:    Nancy’s Notions  Grab it now while it’s on sale for only $9.99 until July 31, 2017.  That’s a great bargain.

Continue Reading →

Facebookpinterestyoutubeinstagram
Continue Reading

The Craftys Awards – Nominations now open

Craftys Awards time

It’s time for The Craftys Awards and that means nominating your favorite crafter.   The Craftsy Awards were created to celebrate the best of DIY and Crafts.  The categories range from traditional such as knitting, crocheting, sew, and scrapbooking to a category known as “geek crafts.”     The Craftsy awards were launched in 2014.   This is such a great way to recognize our creative community.   Crafters have submitted so many awesome projects that selecting a winner will not be an easy task.

Craftys award

Craftys award

I am so honored to have been selected as one of the judges for this year.  Here is the list of the other judges.  So many talented people on the judges panel.

The Editors of Babble
Marisa Pawelko – Modern Surrealist
Yolanda Soto Lopez – All Crafts Channel
Marly Bird – Yarn Thing Podcast
Beth Kingston – Kingston Crafts
Vickie Howell – DIY Network / HGTV
Ed Roth – Stencil 1
Mark Montano – Big Ass Book of Crafts
Galit Lebow – FoodStirs
Amber Kemp-Gerstel – Damask Love


The best in show winner will receive $1,000 and each category winner will receive $200.

Some of the  Categories include the following.  Please go to thecraftsy.com  to a complete list and instructions/rules to enter:

  • Baby Crafts
  • Craft Blogger
  • Crochet
  • Knitting
  • Decorative Painting/ Mixed Medium
  • Edible Crafts
  • Geek Crafts
  • General Crafts
  • Sewing

The winners will be announced in a Live stream in February 2017 from New York City.  There are so many great sponsors for the Craftsy Awards.   If you are a creator and would like to participate you can nominate yourself or another person for an award.  Please go to the website thecraftys.com in order to enter. and learn all about The Craftys awards.  You will also be able to see the complete list of categories and sponsors.  Each year this event has grown. with over 400,000 votes submitted.

Here is a link with the official rules:  Official Rules

Good luck and get those nominations in.  Let’s do our part to get recognization for all of those awesome crafters out there.

Facebookpinterestyoutubeinstagram
Continue Reading

Learn to Sew Fabric Lining to Crochet and Knit Blankets

Learn To Sew Fabric Lining to your Crochet and Knit Blankets

In this post I you will learn to Sew a fabric lining to  your crochet blankets.    Today I uploaded a video tutorial on my youtube channel that many people have requested.  

This question is often received on my posts and videos.  How do you sew a lining to a crochet or knitted blanket without ruining it?   Well, in today’s video I show you how I do it.

There is no need to be afraid of your sewing machine.  Using a few little tricks you can learn to sew a fabric lining to your crochet blankets easily and quickly.  This can also be done with hand sewing.

I recommend blocking your blanket first to get a true size. It important since you will need to know what size to cut your fabric lining.  

How to sew lining to crochet / kinit items
Sewing lining to crochet

In the video I demonstrated on a 12 inch granny square (for filming purposes).  The concept is the same with all sizes.

First, you will need to work at least 2 rows of single crochet all the way around your piece.   (for knitted pieces I work 2 knitted stitched on each edge, right and left of each row.  

I also work the first two rows and last two row in the knitted stitch. This gives me a new edge to sew).  There are several ways you can sew a lining to crochet and knit blankets.

I demonstrate how to do this using a sewing machine.  However, it is still possible to do the same thing by sewing the lining on by hand.   Not having a sewing machine doesn’t mean you can’t sew linings to your projects.  You can also use this same technique to sew linings to bags or other items.

Here is the link for the video.  It explains the whole process.  I hope you enjoy it and that your find it helpful.

If you enjoyed this post you might also enjoy learning how to crochet a granny square which I used in this project. Please remember to share this post with your friends. Sharing is caring. Enjoy

Continue Reading →Facebookpinterestyoutubeinstagram
Continue Reading

Fast and easy Mason Jar Sewing Kit

Make this fast and easy mason jar sewing kit

 In a pinch for a quick, easy and inexpensive gift.   There are so many times I get invited to someone’s house, get-together, etc.  I don’t like to show up empty-handed.  So, here is a quick, easy and inexpensive gift.   I call it my emergency traveling sewing kit.  This little sewing kit in a mason jar makes a great gift.   All supplies can be purchased at your local Walmart, Rite-aid, etc.   This is a great kit to have in your desk at work, while you’re traveling, or for a child going off to college.Photo of Mason Jar sewing kit

You will need the following supplies.
One small mason jar (the kind for jelly)
1 small sewing kit (I bought mine at the dollar store, but you can find them at Walmart, Rite, CVS, etc.)

A little bit of fiber fill
Small piece of fabric
Ribbon
Hot glue gun


First:  Cut your out a fabric piece about an inch larger in diameter than your lid.

Take out inner lid from jar, and insert fabric into opening, lightly stuff with fiber fill.  Insert inner lid (with rubber) on top of your fabric and batting


Now tack down the excess fabric with a glue gun.  Be careful not to burn yourself.  Now add the items of your sewing kit.  You can also add a small card.  

Screw lid back onto jar.  Wrap a small ribbon around lid (you can secure with hot glue) and tie into a bow.  Your gift is now ready.
If you are a visual learner and prefer to watch a video tutorial.  Click on the link on the next page.  Enjoy

Continue Reading →Facebookpinterestyoutubeinstagram

Continue Reading

How to put in a lining for your Crochet Bag

Photo of Lining in Crochet bag

Lined Crochet Bag

Learn how to sew a Lining to your Crochet Bag 

In this post I will show you how to sew a Lining to your crochet bag.   Follow these steps to line your bag.  You will need about 1 1/2 yards of fabric.  Please note, this lining fabric will show thru your granny squares so be sure to get a color you like and that coordinates with your bag colors.  For best results please block your Granny Squares BEFORE sewing on the lining.

You can purchase your fabric at your local fabric store.  I purchased my white fabric at Joann Craft and Fabric Store.    Hobby Lobby also have a a nice selection of fabrics.

Continue Reading →

Facebookpinterestyoutubeinstagram

Continue Reading